
Uncategorized
How to Grow Zucchini at Home: The Complete Beginner’s Guide for Big Harvests

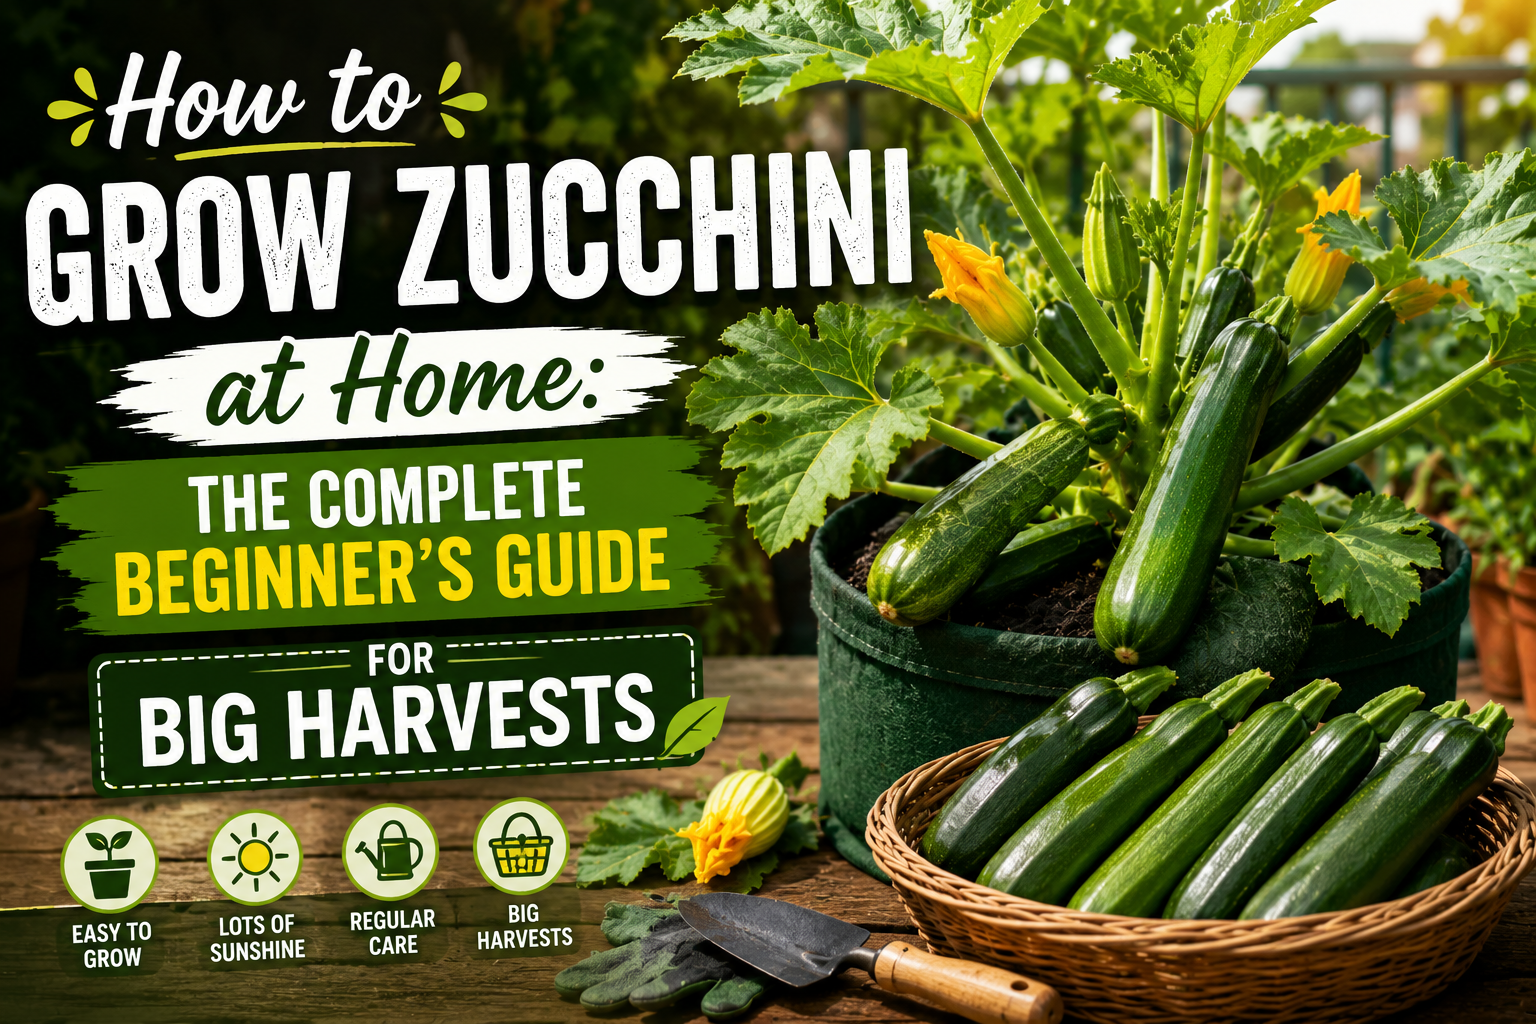
Growing zucchini at home is one of the most rewarding experiences in kitchen gardening. This fast-growing vegetable can produce a steady supply of fresh harvests for weeks when given the right care. Whether you have a backyard garden, raised beds, or just a large container on a rooftop or balcony, zucchini can be surprisingly productive.
I still remember the first time I successfully harvested a zucchini from my own garden. After weeks of watering, watching giant leaves spread across the container, and learning how to hand-pollinate flowers, finally picking that first zucchini felt like discovering hidden treasure. It was fresh, chemical-free, and far more flavourful than anything I had bought from a store.
In this guide, I’ll share everything I’ve learned from growing zucchini myself, including mistakes, solutions, and practical tips that can help beginners achieve bigger harvests.
Why Grow Zucchini at Home?
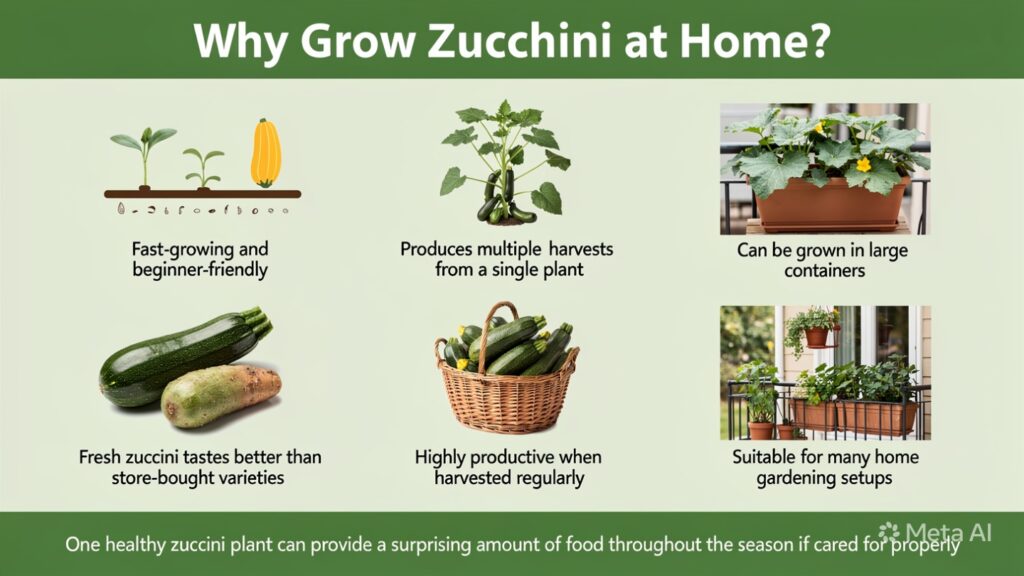
There are several reasons why zucchini deserves a place in every kitchen garden:
- Fast-growing and beginner-friendly
- Produces multiple harvests from a single plant
- Can be grown in large containers
- Fresh zucchini tastes better than store-bought varieties
- Highly productive when harvested regularly
- Suitable for many home gardening setups
One healthy zucchini plant can provide a surprising amount of food throughout the season if cared for properly.
Understanding How Zucchini Grows
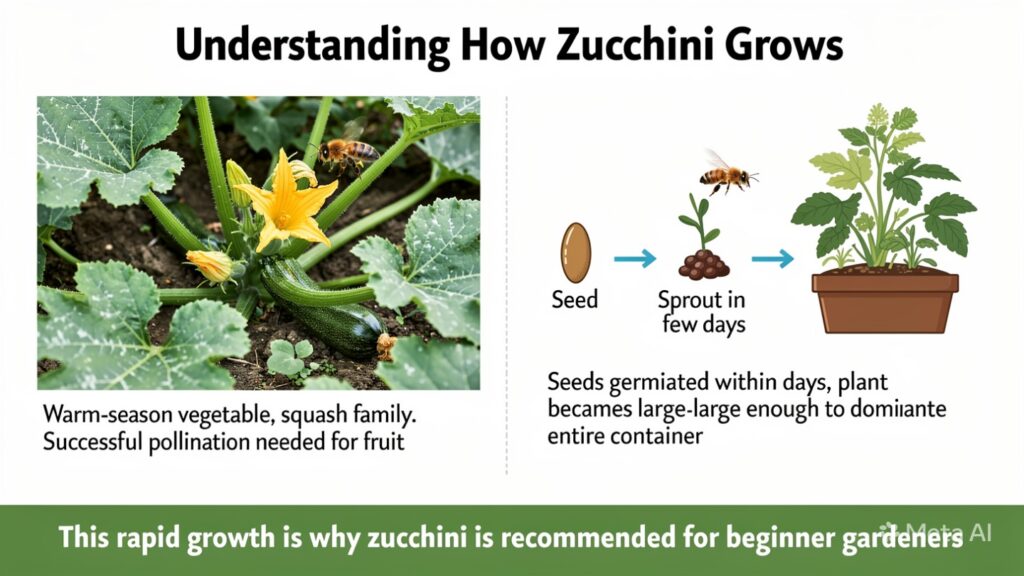
Before learning how to grow zucchini, it helps to understand its growth habit.
Zucchini is a warm-season vegetable that belongs to the squash family. The plant develops large leaves, strong stems, and separate male and female flowers. Successful pollination is necessary for fruit production.
One thing that surprised me during my first growing attempt was how quickly zucchini grows. The seeds germinated within a few days, and soon the plant became large enough to dominate the entire container.
This rapid growth is one reason zucchini is often recommended for beginner gardeners.
Best Time to Grow Zucchini
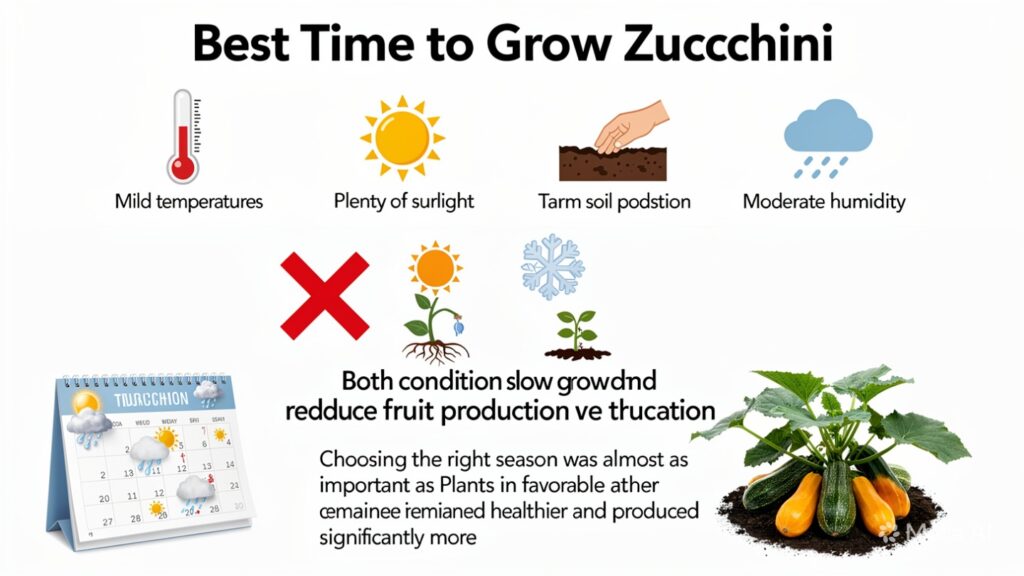
Timing plays a huge role in zucchini success.
Zucchini prefers:
- Mild temperatures
- Plenty of sunlight
- Warm soil
- Moderate humidity
Avoid planting during periods of extreme heat or severe cold because both conditions can slow growth and reduce fruit production.
In my experience, choosing the right season was almost as important as pollination. Plants grown during favourable weather remained healthier and produced significantly more zucchini.
Choosing the Right Container
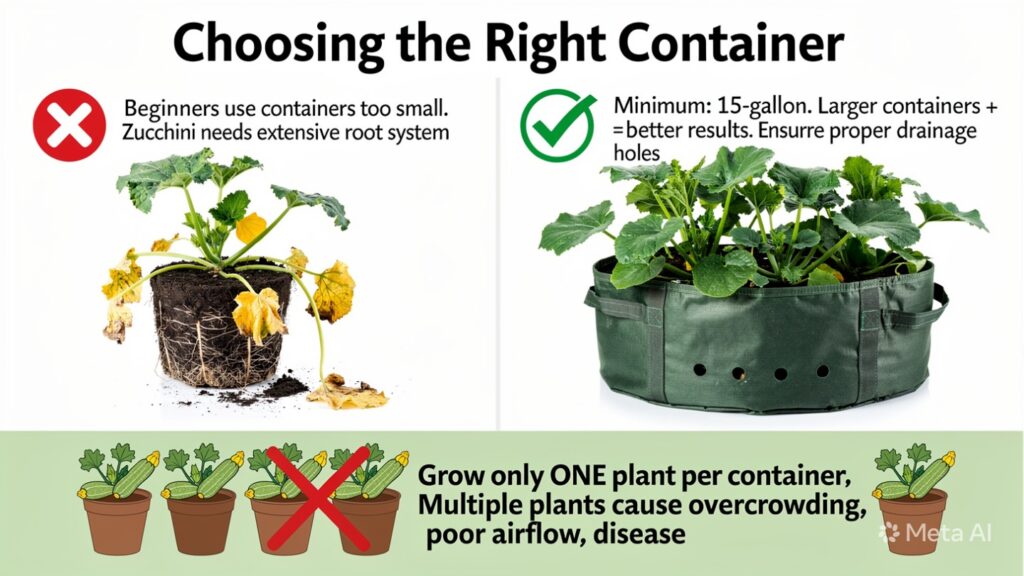
One of the biggest mistakes beginners make is using containers that are too small.
Zucchini develops an extensive root system and requires plenty of space.
Recommended Container Size
- Minimum: 15-gallon container or grow bag
- Larger containers produce better results
- Ensure proper drainage holes
I always recommend growing only one zucchini plant per container. Trying to fit multiple plants into the same container usually leads to overcrowding, poor airflow, and increased disease problems.
The Best Soil Mix for Zucchini
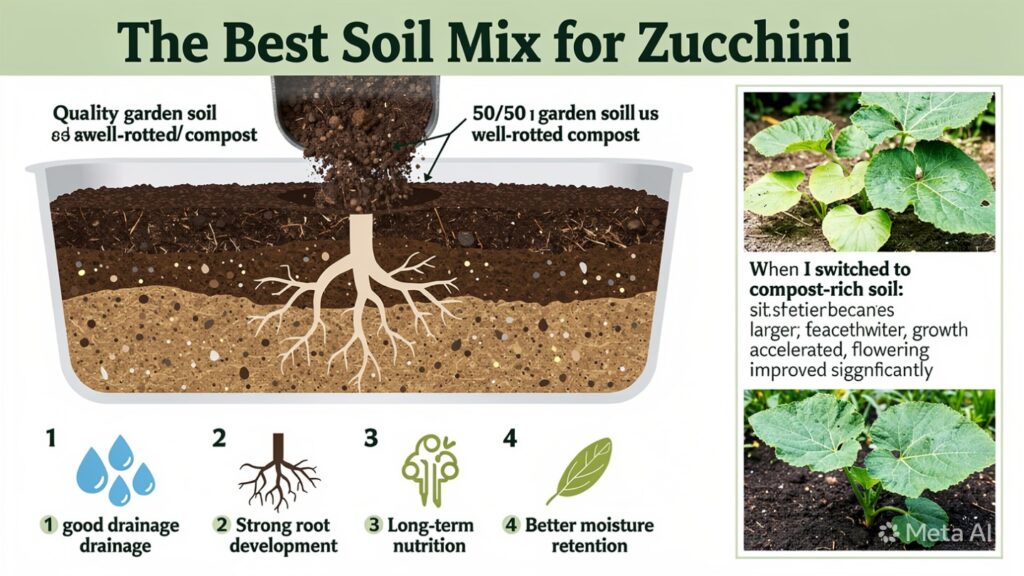
Zucchini is a heavy feeder, meaning it requires nutrient-rich soil to produce healthy growth and continuous harvests.
Ideal Soil Mix
- 50% quality garden soil
- 50% well-rotted compost or organic matter
This rich soil mixture provides the following:
- Good drainage
- Strong root development
- Long-term nutrition
- Better moisture retention
When I switched to a compost-rich soil mix, the difference in plant vigour was noticeable. The leaves became larger, growth accelerated, and flowering improved significantly.
How to Plant Zucchini Seeds
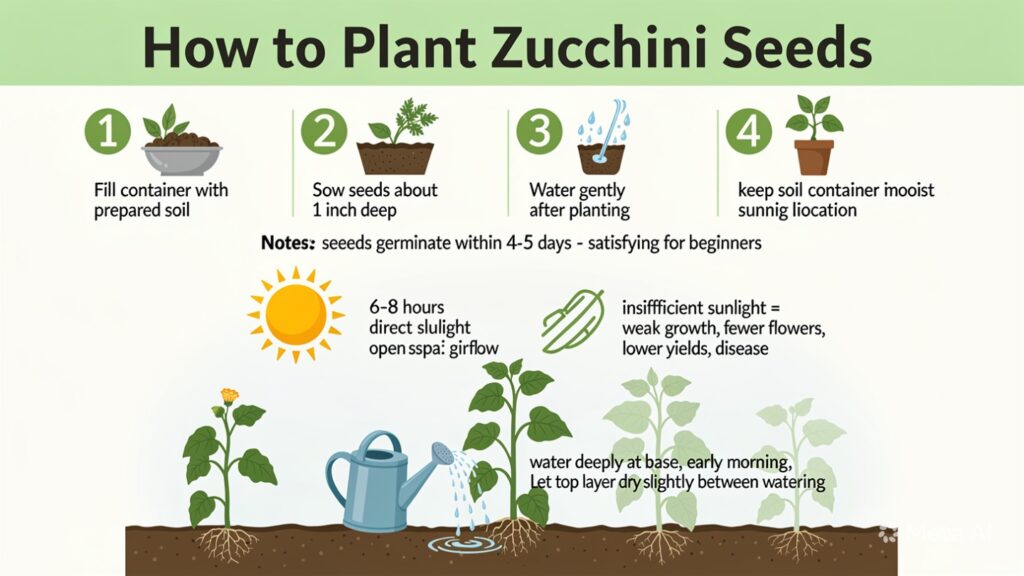
Growing zucchini from seed is simple and affordable.
Step-by-Step Planting
- Fill your container with prepared soil.
- Sow seeds about 1 inch deep.
- Water gently after planting.
- Place the container in a sunny location.
- Keep the soil slightly moist until germination.
Under suitable conditions, zucchini seeds often germinate within 4 to 5 days.
This quick germination makes zucchini especially satisfying for beginner gardeners.
Sunlight Requirements
Zucchini loves sunlight.
For best growth, provide:
- 6–8 hours of direct sunlight daily
- Open space with good airflow
- Protection from excessive shade
Insufficient sunlight can lead to:
- Weak growth
- Fewer flowers
- Lower yields
- Increased disease pressure
The healthier the foliage, the greater the plant’s ability to produce fruit.
Watering Zucchini Correctly
Watering is where many beginners accidentally create problems.
The Right Way to Water
- Water deeply at the base of the plant
- Water early in the morning
- Allow the top layer of soil to dry slightly between waterings
Avoid These Mistakes
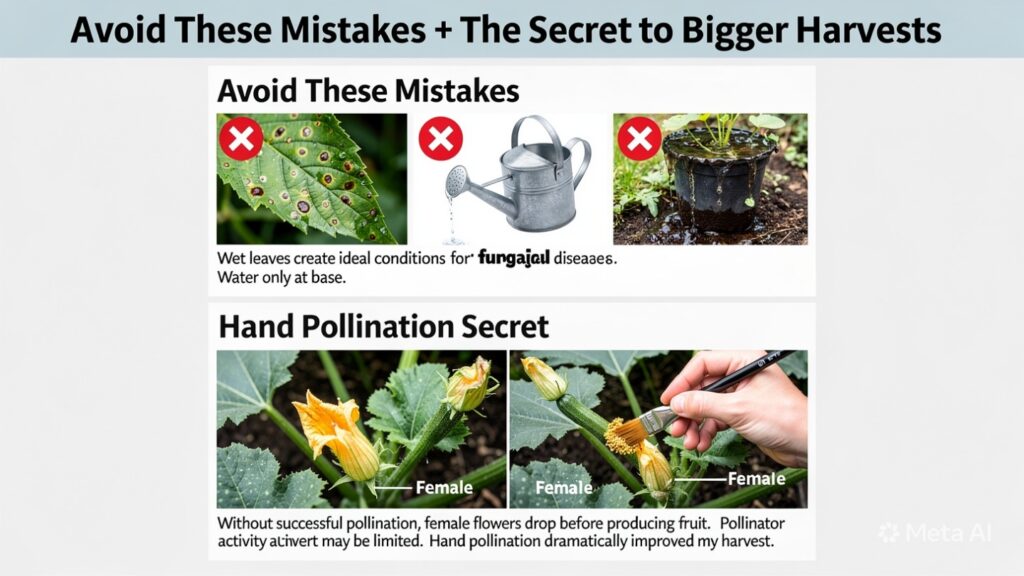
- Watering leaves directly
- Frequent shallow watering
- Keeping soil constantly soaked
One lesson I learned the hard way is that wet leaves create ideal conditions for fungal diseases. Once I switched to watering only at the base, plant health improved noticeably.
The Secret to Bigger Harvests: Hand Pollination
If there is one technique that dramatically improved my zucchini harvest, it was hand pollination.
Why Pollination Matters
Zucchini produces:
- Male flowers
- Female flowers
Without successful pollination, female flowers often drop before producing fruit.
Many gardeners assume pollination will happen naturally. However, in some growing environments, pollinator activity may be limited.
How to Hand Pollinate Zucchini
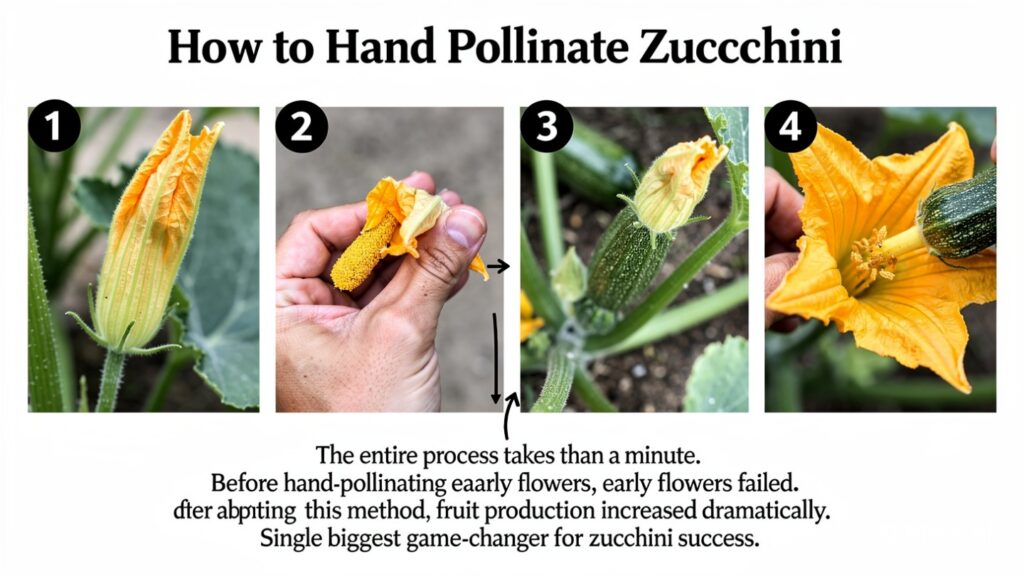
- Identify a male flower.
- Remove the petals.
- Locate a female flower (it has a tiny zucchini behind it).
- Gently touch the pollen-covered male flower to the centre of the female flower.
The entire process takes less than a minute.
In my garden, several early flowers failed before I started hand-pollinating. After adopting this simple method, fruit production increased dramatically.
For me, hand pollination was the single biggest game-changer for zucchini success.
Common Beginner Mistakes
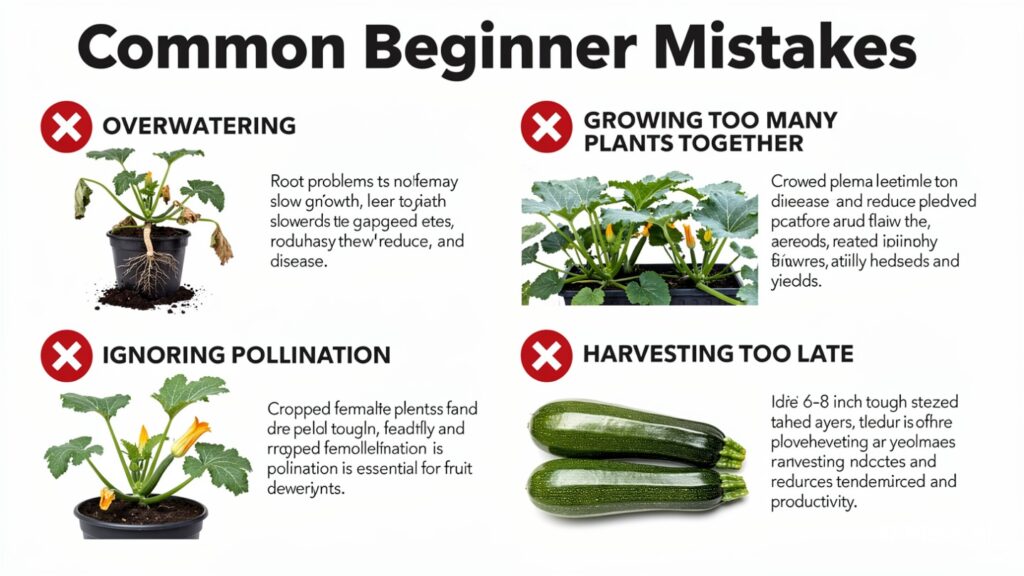
1. Overwatering
Too much water causes the following:
- Root problems
- Slow growth
- Disease outbreaks
Always check soil moisture before watering.
2. Growing Too Many Plants Together
Zucchini requires space.
Crowded plants experience:
- Poor airflow
- Higher disease pressure
- Reduced yields
3. Ignoring Pollination
Healthy plants can still fail to produce zucchini if flowers are not properly pollinated.
4. Harvesting Too Late
Large zucchini may look impressive, but they become less tender as they mature.
Regular harvesting encourages continuous production.
How to Prevent Powdery Mildew
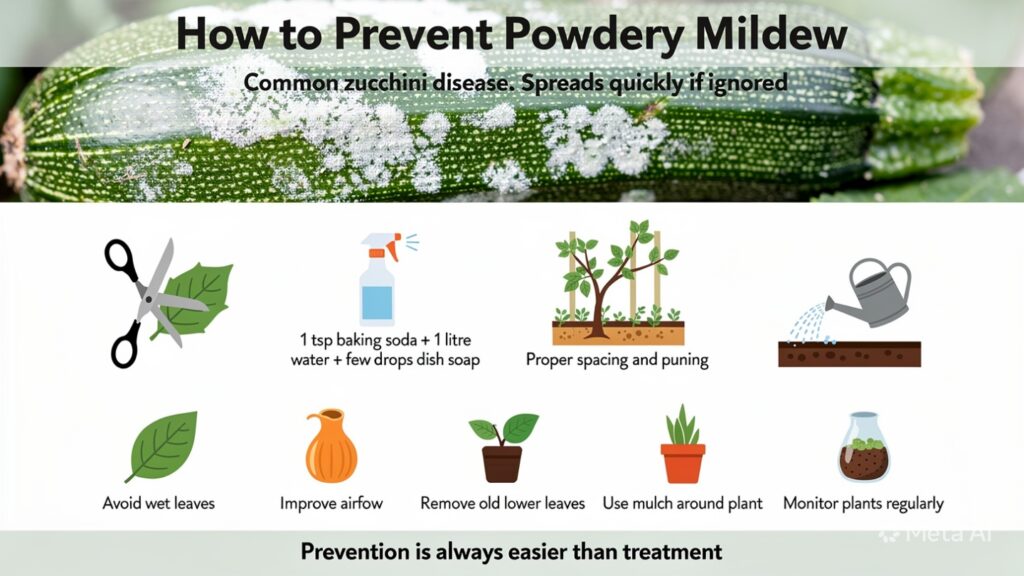
Powdery mildew is one of the most common zucchini diseases.
It appears as a white powder-like coating on leaves and can quickly spread if ignored.
I experienced this issue during one of my growing seasons, and it taught me the importance of prevention.
What Worked for Me
Remove Infected Leaves
I immediately removed heavily infected leaves to improve airflow and reduce disease spread.
Use a Baking Soda Spray
A simple homemade spray helped slow fungal growth:
- 1 teaspoon baking soda
- 1 litre of water
- A few drops of dish soap
Apply weekly as needed.
Improve Air Circulation
Proper spacing and selective pruning helped leaves dry faster after watering.
Water Only at the Base
Keeping foliage dry became one of my most effective disease-prevention strategies.
Prevention Tips
- Avoid wet leaves
- Improve airflow
- Remove old lower leaves
- Use mulch around the plant
- Monitor plants regularly
Remember: prevention is always easier than treatment.
Harvesting Zucchini
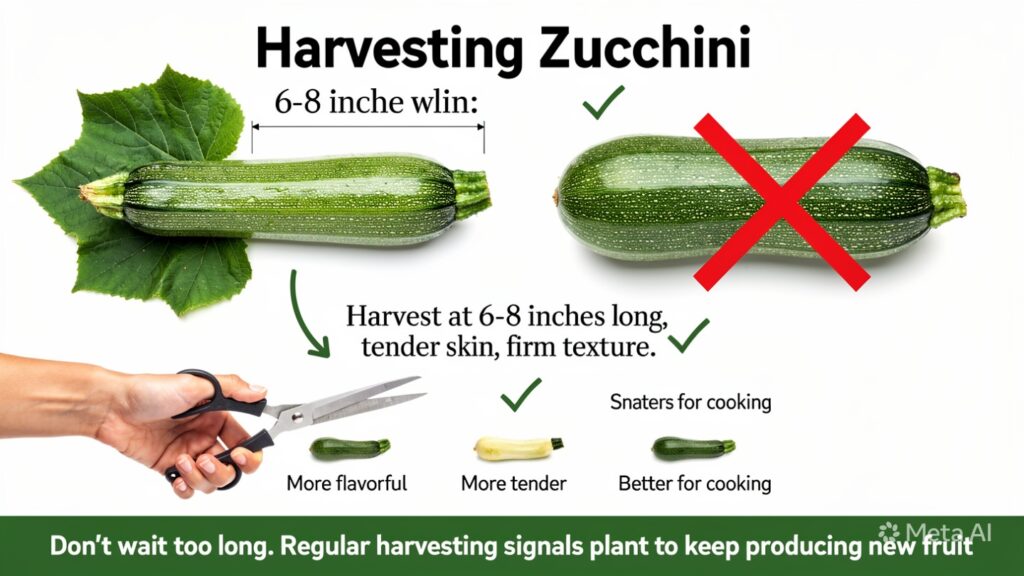
One of the most exciting parts of growing zucchini is how quickly the fruits mature.
When to Harvest
Harvest zucchini when they reach the following size:
- 6–8 inches long
- Tender skin
- Firm texture
Don’t wait too long.
Smaller zucchini are usually the following:
- More flavorful
- More tender
- Better for cooking
Regular harvesting signals the plant to keep producing new fruit.
My Results Growing Zucchini:
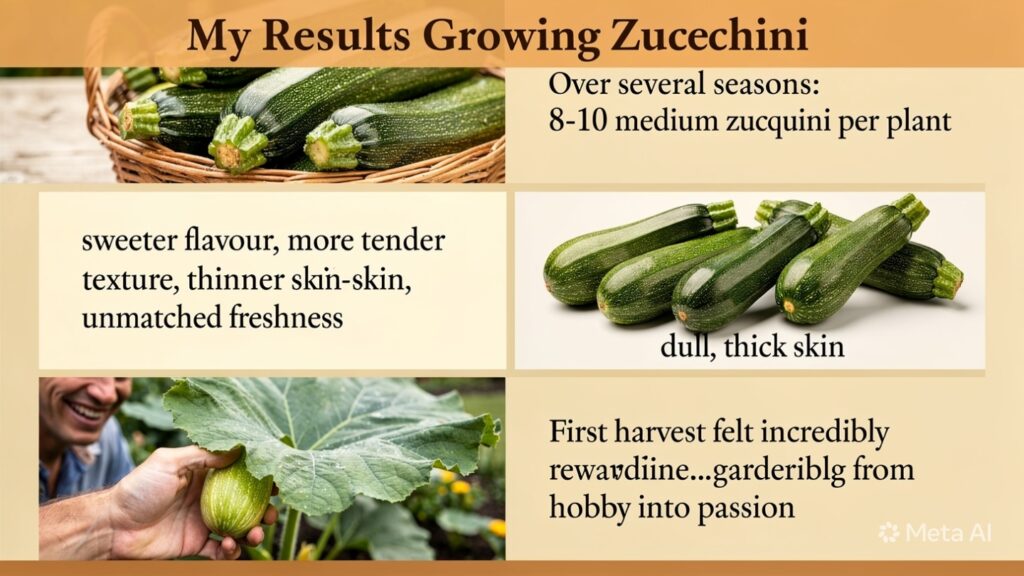
Over several growing seasons, I experimented with different zucchini plants and growing methods.
My most successful plants produced approximately 8–10 medium-sized zucchini during a season.
What impressed me most was the quality.
Compared to store-bought zucchini:
- The flavour was noticeably sweeter
- The texture was more tender
- Skin was thinner
- Freshness was unmatched
The first time I harvested a zucchini from my own garden, it felt incredibly rewarding. After weeks of care, seeing a healthy fruit hidden beneath those giant leaves was proof that the effort had paid off.
That experience transformed gardening from a hobby into a passion.
Beginner Success Blueprint
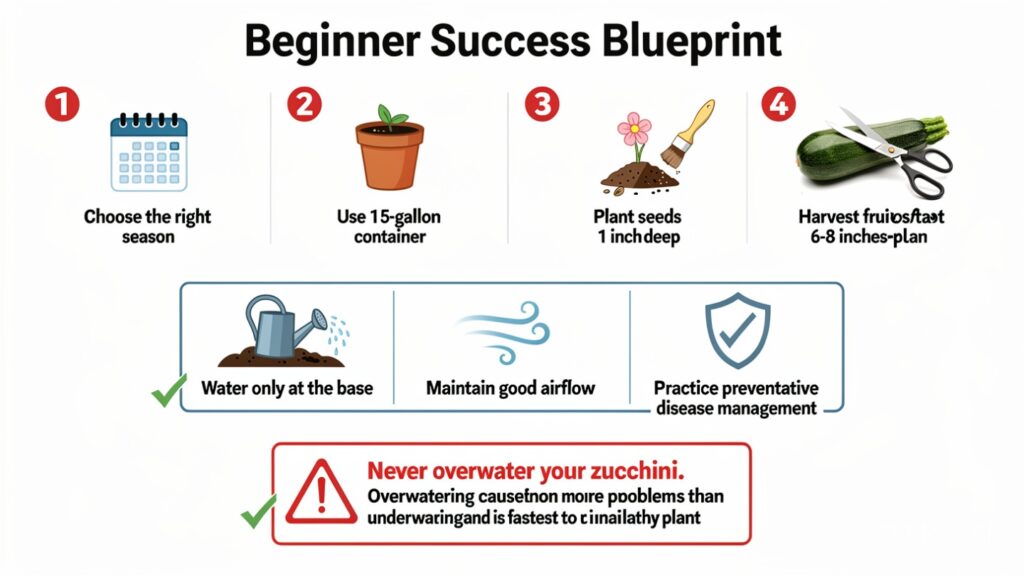
If you’re growing zucchini for the first time, follow this simple plan:
- Choose the right season.
- Use a 15-gallon container.
- Prepare rich compost-based soil.
- Plant seeds 1 inch deep.
- Hand-pollinate flowers if needed.
- Harvest fruits at 6–8 inches.
Three Non-Negotiable Rules
- Water only at the base.
- Maintain good airflow.
- Practice preventative disease management.
One Thing to Avoid
Never overwater your zucchini.
Overwatering causes more problems than underwatering and is one of the fastest ways to ruin an otherwise healthy plant.
Frequently Asked Questions (FAQs)
How long does zucchini take to grow from seed?
Zucchini seeds usually germinate within 4–5 days, and most plants begin producing harvestable fruit within 45–60 days, depending on growing conditions.
Can zucchini grow in containers?
Yes. Zucchini grows very well in containers as long as the container is large enough. A 15-gallon grow bag or pot is recommended.
How many zucchini can one plant produce?
A healthy plant can produce around 8–10 or more zucchini during a growing season when harvested regularly.
Why are my zucchini flowers falling off?
This usually happens because of poor pollination. Hand pollination can significantly improve fruit production.
How often should I water zucchini?
Water deeply when the top layer of soil begins to dry. Avoid keeping the soil constantly wet.
Final Thoughts
Learning how to grow zucchini at home is easier than many beginners expect. The plant grows quickly, produces generously, and rewards even small amounts of effort with fresh harvests.
The biggest lessons I learned were simple: give the plant enough space, keep the leaves dry, and never underestimate the power of hand pollination. Those three practices alone can dramatically improve your results.
If you stay consistent with watering, monitor the plant regularly, and harvest on time, a single zucchini plant can provide weeks of delicious homegrown vegetables and one of the most satisfying experiences in kitchen gardening.
Uncategorized
How to Grow Okra Successfully at Home: The Complete Beginner’s Guide to Bigger Harvests
If you’re wondering how to grow okra successfully at home, you’ll soon discover it’s about much more than simply planting seeds and waiting for vegetables. Growing okra is a slow, rewarding relationship between you and your plants. If you’ve ever picked a fresh okra pod from your own plant, you already know the feeling is completely different from anything you buy from the market.
I still remember my first proper okra harvest on my rooftop garden. It wasn’t perfect, and I made plenty of mistakes, but that experience taught me more than any gardening book ever could. Over time, I learned that okra is one of those crops that responds quickly to your care. If you do things right, it rewards you generously. If you do things wrong, it shows you without delay.
In this guide, I’m sharing everything I personally learned: what worked, what failed, and the practical techniques that helped me grow okra successfully at home with bigger, healthier harvests in real home gardening conditions.
Understanding Okra Before You Grow It
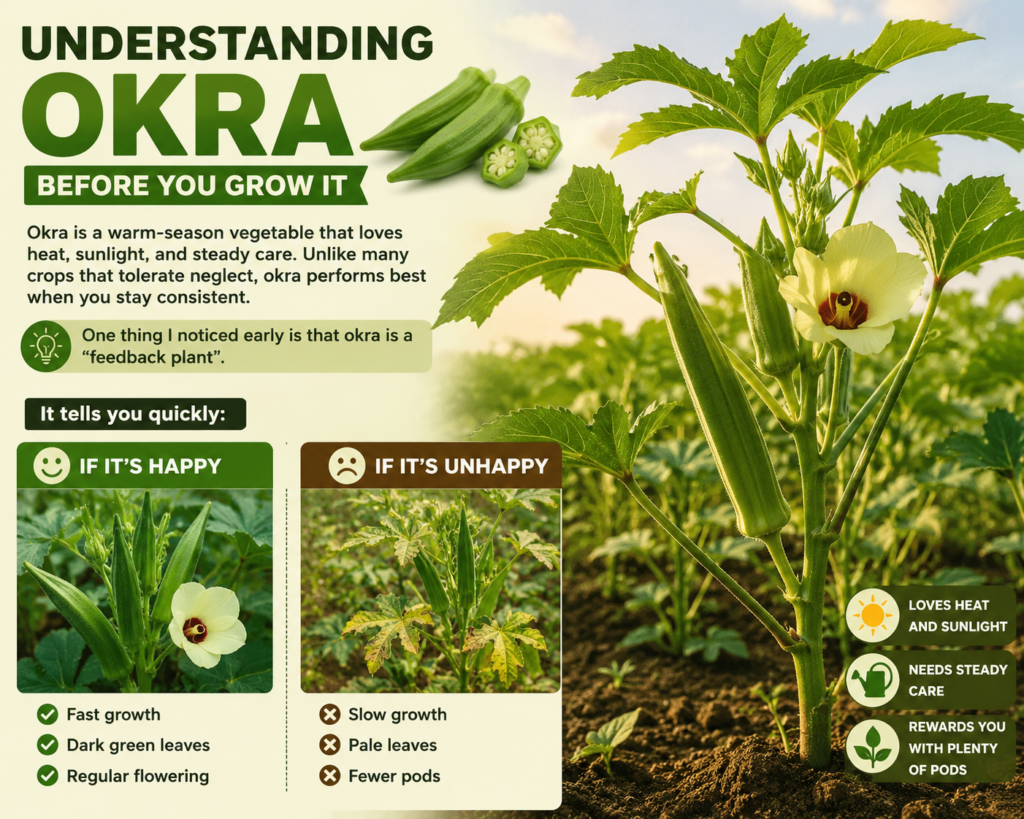
Okra is a warm-season vegetable that loves heat, sunlight, and steady care. Unlike many crops that tolerate neglect, okra performs best when you stay consistent.
One thing I noticed early is that okra is a “feedback plant”.
It tells you quickly:
- If it’s happy → fast growth, dark green leaves, regular flowering
- If it’s unhappy → slow growth, pale leaves, fewer pods
That makes it perfect for beginners because you learn fast.
Step 1: Choosing the Right Container (This Matters More Than You Think)
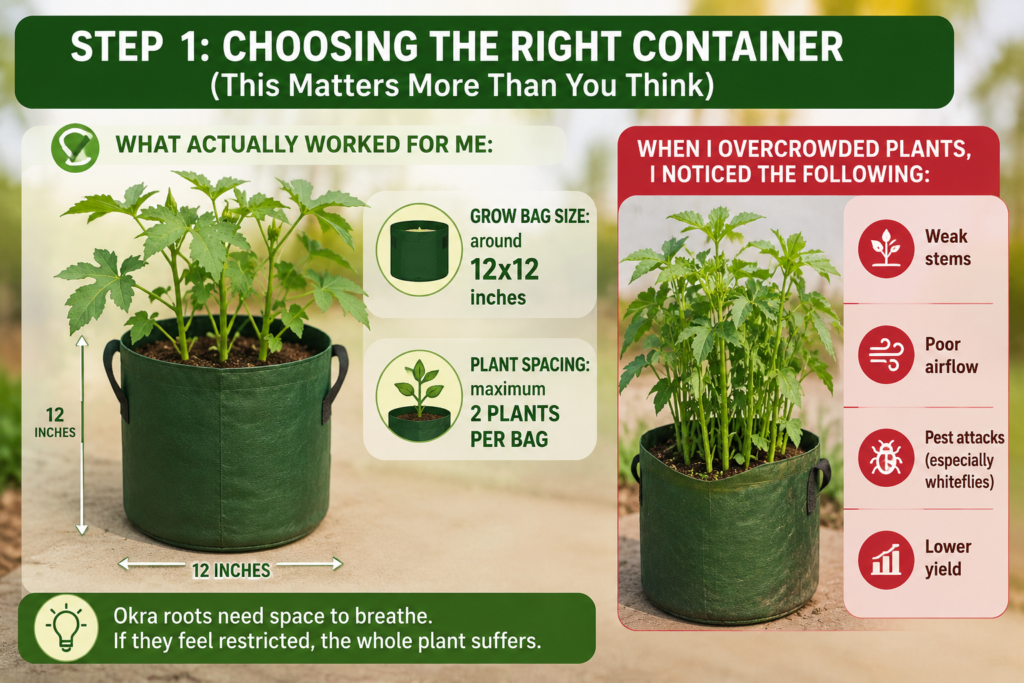
One of my biggest early mistakes was ignoring container size.
I started with small grow bags, thinking that more plants would mean a bigger harvest. I was wrong.
What actually worked for me:
- Grow bag size: around 12×12 inches
- Plant spacing: maximum 2 plants per bag
When I overcrowded plants, I noticed the following:
- Weak stems
- Poor airflow
- Pest attacks (especially whiteflies)
- Lower yield
Okra roots need space to breathe. If they feel restricted, the whole plant suffers.
Step 2: Best Soil Mix for Healthy Okra Growth
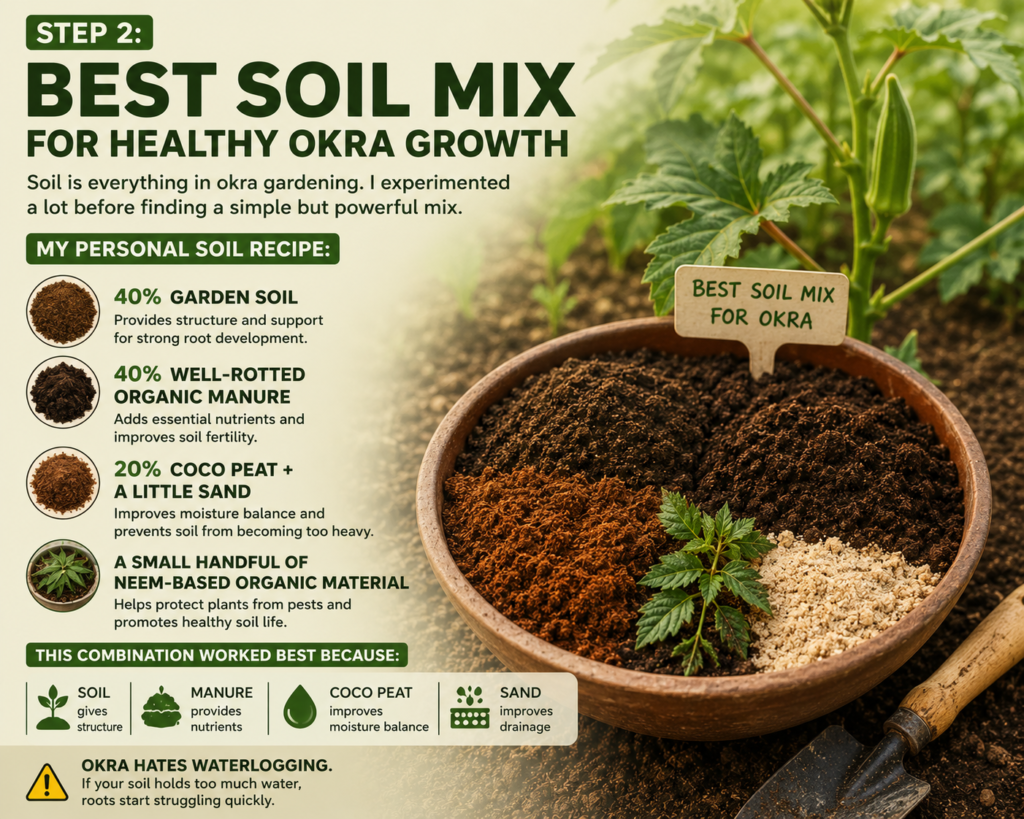
Soil is everything in okra gardening. I experimented a lot before finding a simple but powerful mix.
My personal soil recipe:
- 40% garden soil
- 40% well-rotted organic manure
- 20% coco peat + a little sand
- A small handful of neem-based organic material
This combination worked best because:
- Soil gives structure
- Manure provides nutrients
- Coco peat improves moisture balance
- Sand improves drainage
Okra hates waterlogging. If your soil holds too much water, roots quickly struggle.
Step 3: Seed Preparation (The Secret to Fast Germination)
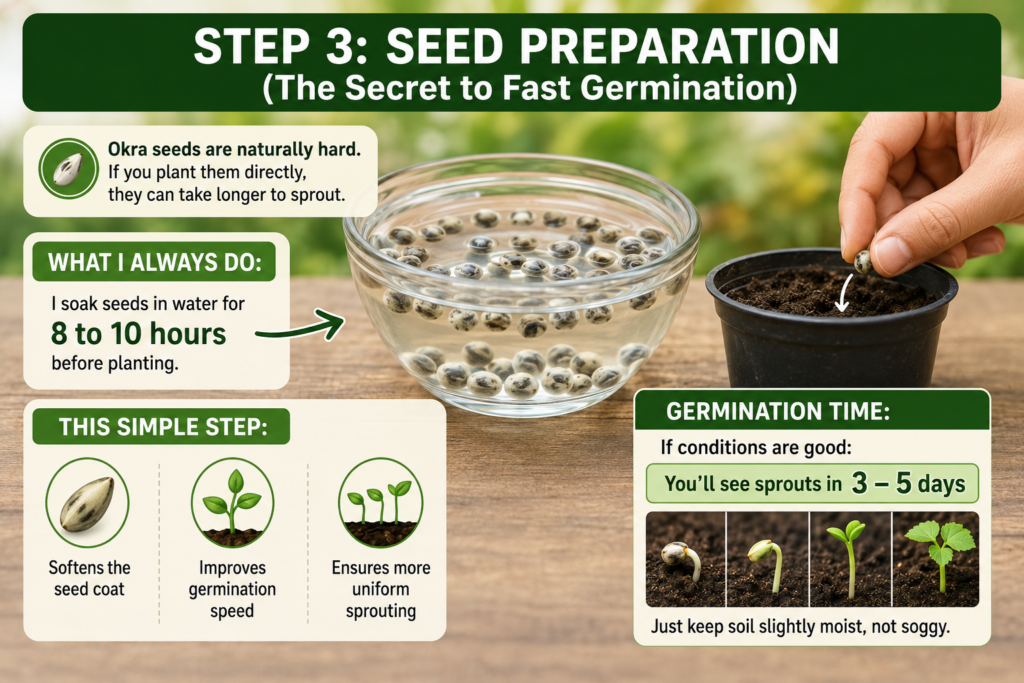
Okra seeds are naturally hard. If you plant them directly, they can take longer to sprout.
What I always do:
I soak seeds in water for 8 to 10 hours before planting.
This simple step:
- Softens the seed coat
- Improves germination speed
- Ensures more uniform sprouting
Germination time:
If conditions are good:
- You’ll see sprouts in 3 to 5 days
Just keep the soil slightly moist, not soggy.
Step 4: Sunlight, Watering, and Feeding (Where Most Beginners Go Wrong)
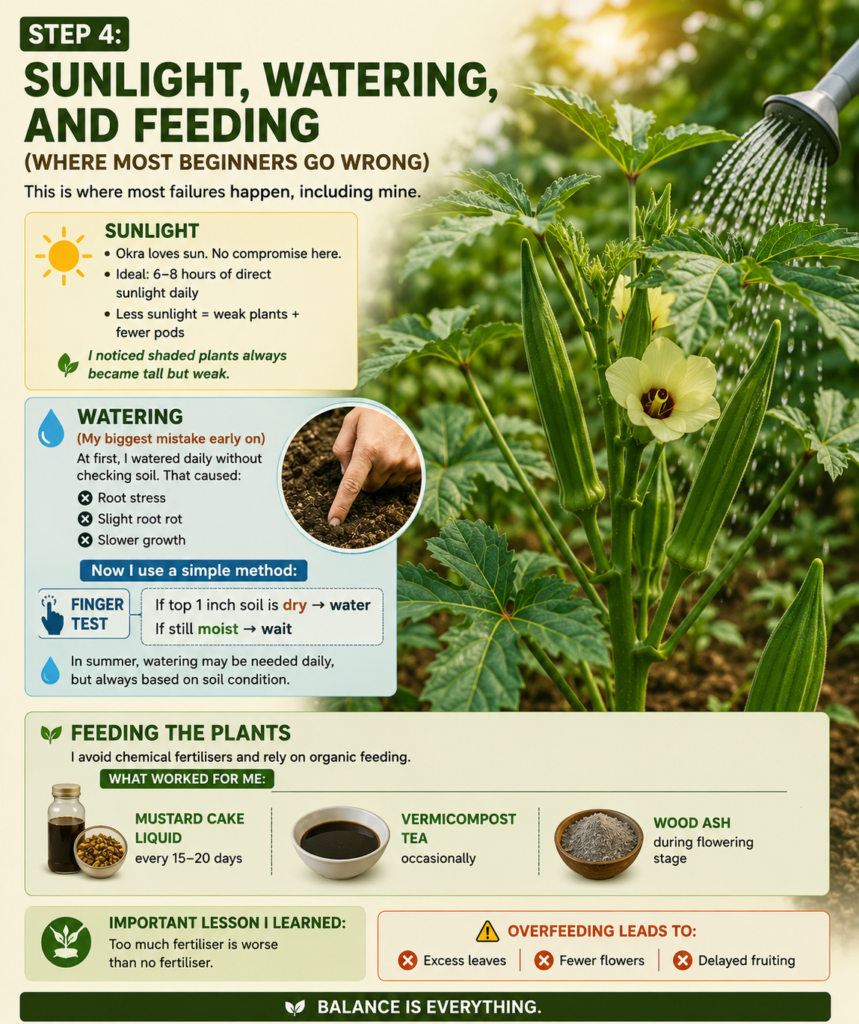
This is where most failures happen, including mine.
Sunlight
Okra loves the sun. No compromise here.
- Ideal: 6–8 hours of direct sunlight daily
- Less sunlight = weak plants + fewer pods
I noticed that shaded plants always became tall but weak.
Watering (My biggest mistake early on)
At first, I watered daily without checking the soil. That caused:
- Root stress
- Slight root rot
- Slower growth
Now I use a simple method:
Finger test
If the top 1 inch of soil is dry → water
If still moist → wait
In summer, watering may be needed daily, but always based on soil conditions.
Feeding the plants
I avoid chemical fertilisers and rely on organic feeding.
What worked for me:
- Mustard cake liquid every 15-20 days
- Vermicompost tea occasionally
- Wood ash during the flowering stage
Important lesson I learned:
Too much fertiliser is worse than no fertiliser.
Overfeeding leads to the following:
- Excess leaves
- Fewer flowers
- Delayed fruiting
Balance is everything.
Step 5: Growth Signs You Should Look For
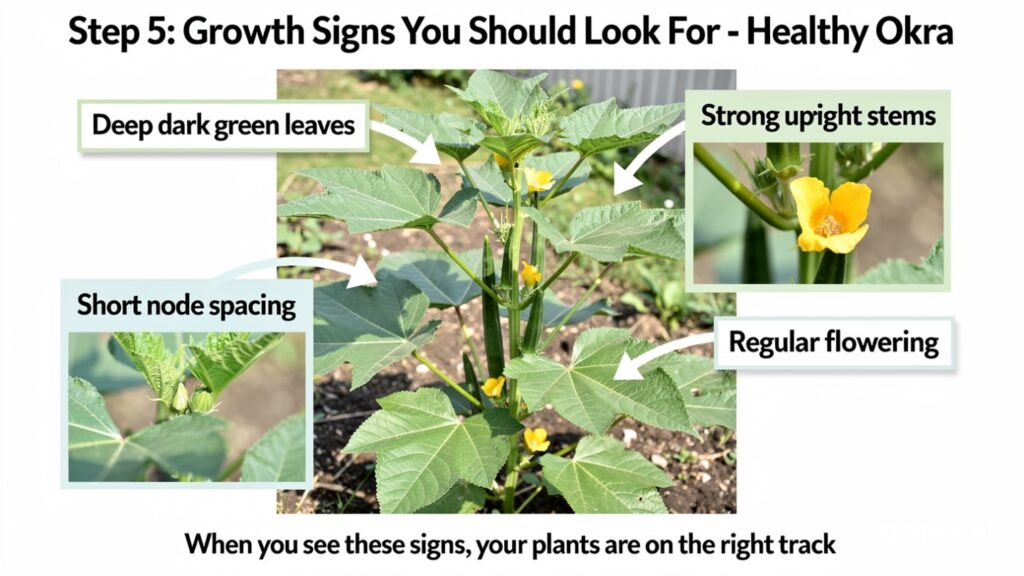
Healthy okra plants show clear signals:
- Deep, dark green leaves
- Strong upright stems
- Short node spacing
- Regular flowering
When I started noticing these signs, I knew my plants were on the right track.
Step 6: Harvesting Okra the Right Way
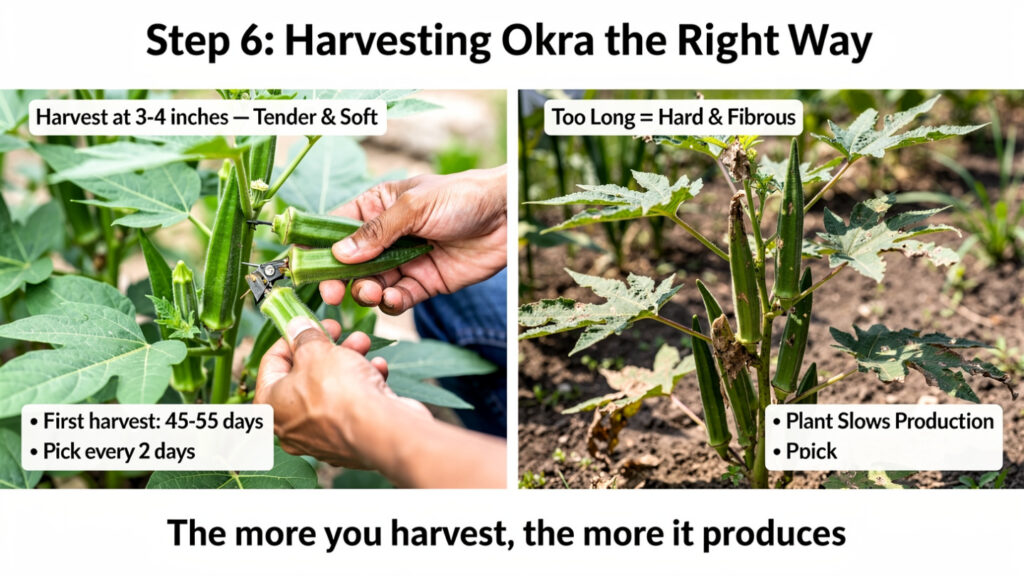
Harvesting is where your patience turns into reward.
My experience timeline:
- First harvest: around 45–55 days after planting
- After that, continuous harvesting every 2 days
Best pod size:
- Around 3–4 inches
- Tender, soft, and perfect for cooking
Critical lesson:
If you leave pods too long:
- They become hard and fibrous
- The plant slows down new pod production
Once I ignored harvesting for a few days, I noticed production dropped immediately. Okra “decides” when its job is done.
So the rule is simple:
The more you harvest, the more it produces.
Common Mistakes I Learned the Hard Way
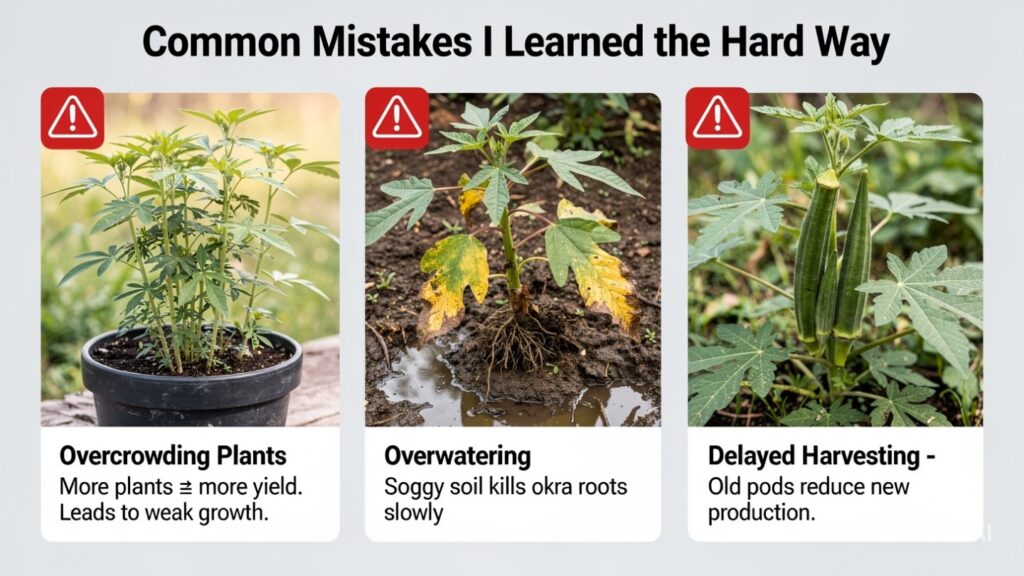
Here are the biggest mistakes beginners should avoid:
1. Overcrowding plants
More plants do NOT mean more yield. It leads to weak growth.
2. Overwatering
Soggy soil kills okra roots slowly.
3. Delayed harvesting
Old pods reduce new production.
My Top Okra Growing Tips (From Real Experience)
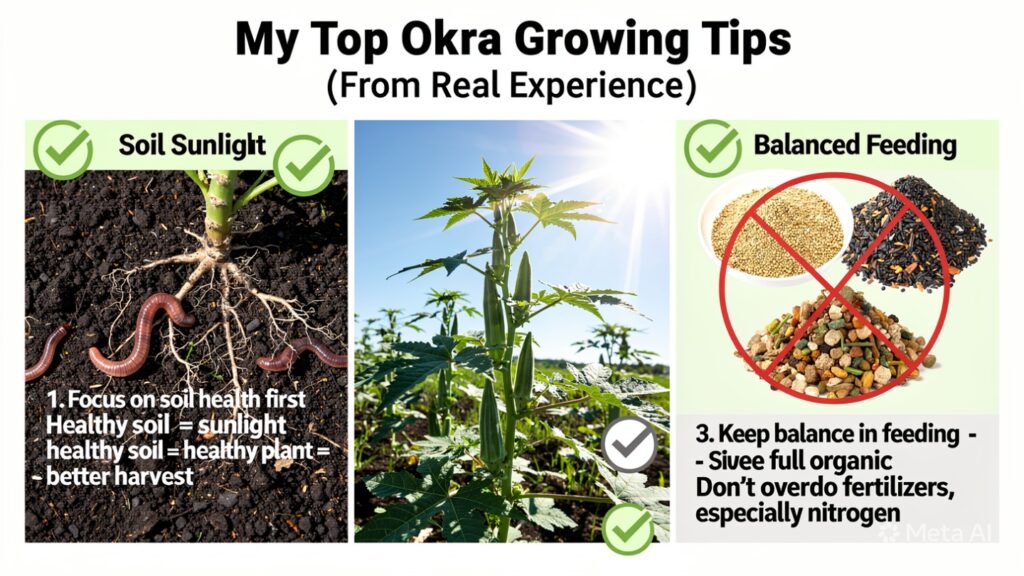
1. Focus on soil health first
Healthy soil = healthy plant = better harvest.
2. Give full sunlight
No shortcuts here.
3. Keep a balance in feeding
Don’t overdo fertilisers, especially nitrogen.
Pests and Problems (And How I Controlled Them)
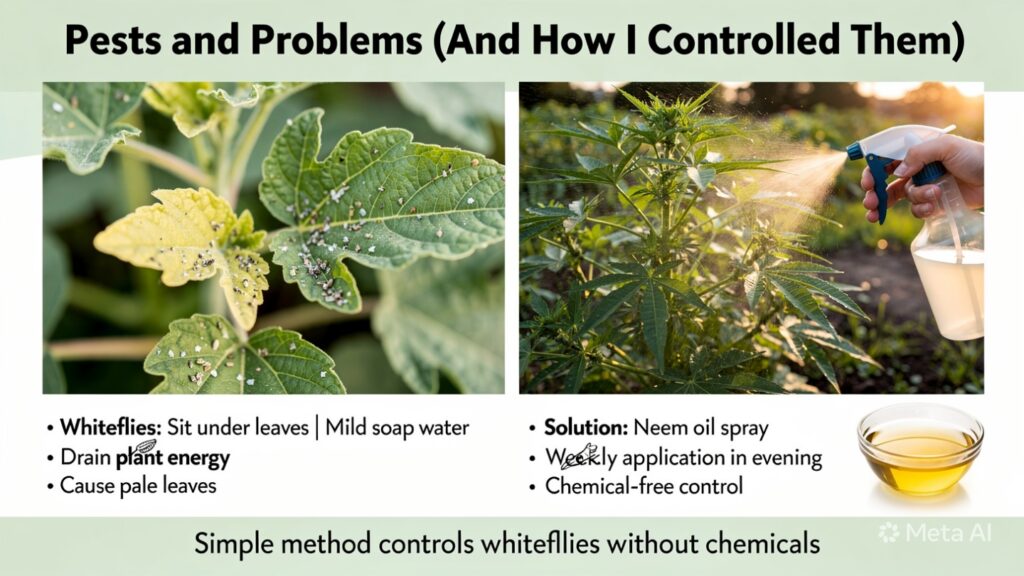
The biggest issue I faced was whiteflies.
They:
- Sit under leaves
- Drain plant energy
- Cause leaves to turn pale
My solution:
- Neem oil spray
- Mild soap water mix
- Weekly application in the evening
This simple method controlled the problem without chemicals.
My Personal Opinion (Important Insight)
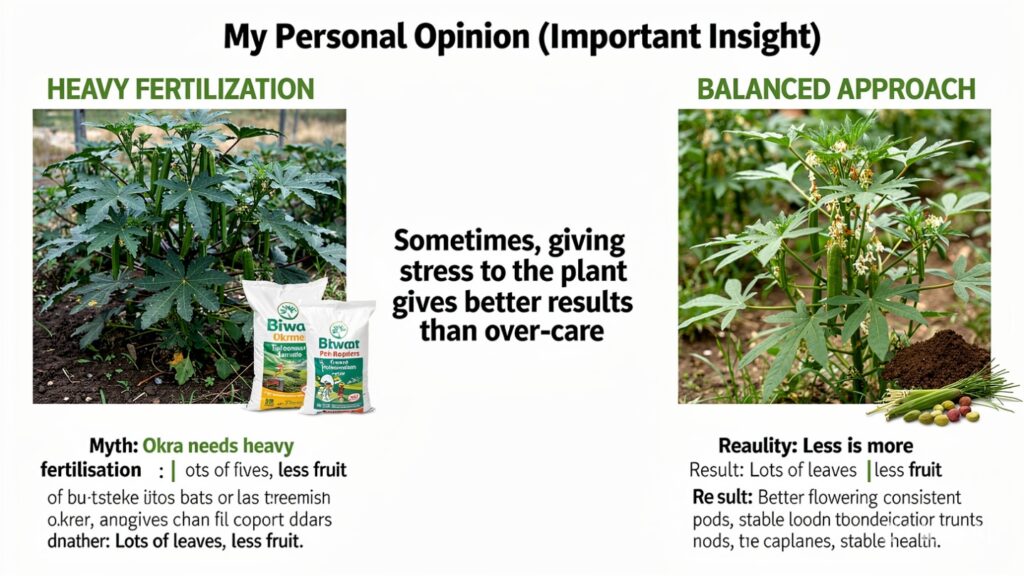
Many people believe okra needs heavy fertilisation for a good yield.
My experience says the opposite:
Less is more.
When I reduced feeding and focused on balance:
- Flowering improved
- Pods became more consistent
- Plant health stabilized
Sometimes, giving less stress to the plant gives better results than over-care.
Frequently Asked Questions (FAQ)
1. How long does okra take to grow?
Usually, 45–60 days for the first harvest after planting.
2. Can okra grow in containers?
Yes, it grows very well in grow bags or pots with proper drainage.
3. Why are my okra leaves turning yellow?
Most likely overwatering, nutrient imbalance, or poor drainage.
4. How often should okra be watered?
Water only when the topsoil feels dry. In hot weather, it may be daily.
5. How do I increase okra yield?
Good sunlight, proper spacing, balanced feeding, and regular harvesting.
Final Thoughts
Growing okra at home is not complicated, but it does require attention, observation, and patience. Once you understand its behaviour, it becomes one of the most rewarding vegetables you can grow.
It’s not just about harvesting food. It’s about watching something grow under your care and learning from it every single day. If you treat okra with balance, it will reward you far more than you expect.
- How to Make a Raised Garden Bed: The Easy Beginner’s Guide

- How to Grow Zucchini at Home: The Complete Beginner’s Guide for Big Harvests

- How to Grow Potatoes in a Bag: The Easy Beginner’s Guide to a Big Harvest
- How to Grow Carrots at Home: The Complete Beginner’s Guide to Bigger Harvests

- How to Grow Okra Successfully at Home: The Complete Beginner’s Guide to Bigger Harvests

-
 Vegetable Gardening1 month ago
How to Grow Tomato Plants Successfully (Beginner’s Step-by-Step Guide)?
-
 Vegetable Gardening3 weeks ago
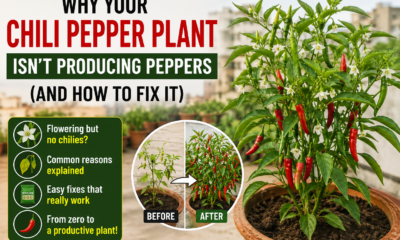
Why Your Chilli Pepper Plant Isn’t Producing Peppers (And How to Fix It)
-

 Vegetable Gardening1 month ago
How to Grow Pumpkins: The Complete Beginner’s Guide to a Huge Harvest
-

 Vegetable Gardening3 weeks ago
Creative Outdoor Planter Ideas for Small Yards, Balconies, and Patios
-

 Vegetable Gardening4 weeks ago
15 Best Veggies to Grow in Your Rooftop Garden for a Huge Harvest
-
 Beginner Guides4 weeks ago
Growing Vegetables at Home: A Beginner’s Guide That Actually Works
-
 Beginner Guides3 weeks ago
Grow Onions at Home: The Complete Beginner’s Guide to Bigger Harvests
-

 Beginner Guides2 weeks ago
🥒 How to Grow Cucumbers at Home Easily (Step-by-Step Beginner Guide)